On Remembrance Day 2016 we pledged to give a free sock darning lesson to anyone who came to the mill this winter with a holey pair of wool socks. So far, no one has taken us up on this pledge. Perhaps that is because all the folks out there wearing socks are already master sock darners.....or perhaps that is because coming all the way out to the mill is just too darn much inconvenience for an old pair of socks (no pun intended), particularly in the cold and snow. If it is the later, then we understand and want to make sure that anyone who would like to learn to darn their own socks has the opportunity - we think being able to do basic repairs on the textiles you use is an important skill to have (check out our blog Wool Textiles and the R's of Sustainability Part 3: Repair and Recycle for some reasons why). We'll still give you an in-person darning lesson if you come to the mill, but if you can't make the trip out, here is a handy internet tutorial to use.
Woven repair for small holes in socks, woven fabrics, and knit fabrics:
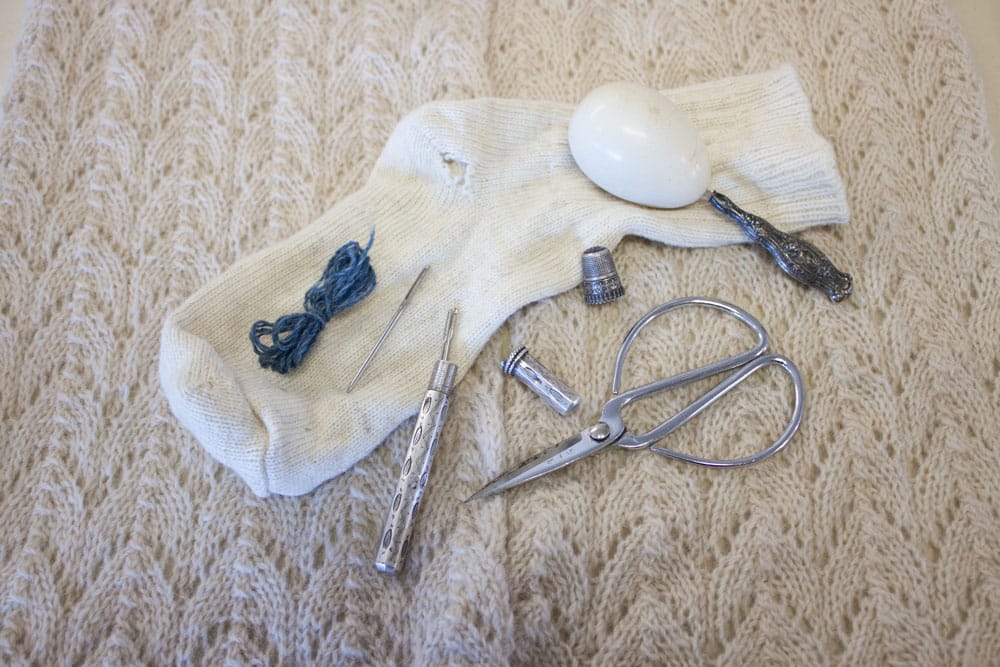
Woven repair is a very simple and quick technique. All you need is a darning needle, a scrap of yarn, something to hold your repair item taught against, and about 10 minutes time. For this reason, not only is it the easiest repair method for wool socks, it is the go-to method for fixing woven blankets and inconspicuous holes in sweaters. You can match your repair yarn to your piece, or you can choose a contrasting colour to highlight a lovingly repaired well-used item!
To get started...
Gather the items you will need - a darning needle, some yarn, and something to hold your sock taught over.
Darning needles are large needles with a blunt point and an eye large enough to use with yarn. If you don't already own one, you can buy one at almost any drug store or craft store for under $5.00 (sometimes they come as part of a package of repair needles and they can be either plastic or metal).
You can use any scrap of yarn to darn your socks, though the repair will last longer and be more comfortable if you choose something similar in weight to the yarn that your socks are made out of. If you don't have any scraps of yarn around, you should probably take up knitting - it is a sure way to guarantee a stash of yarn in the closet at all times. Alternatively, if you have many pairs of socks to fix up, you can sacrifice one and unravel the yarn from it to use on your other socks, or, you can use a thick dental floss in a pinch (get the unflavoured kind because the flavoured stuff is sticky).
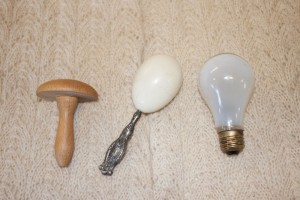
Traditionally, folks use what is a called a "darning egg" - an egg shaped piece of wood or other hard material - to stretch the sock over. The old darning eggs range from very fancy (perhaps an indicator of how important the darning egg was to daily life) to quite plain, but the function is the same. If you don't have a darning egg, you can use a lightbulb or an empty bottle instead.
Darning your sock...
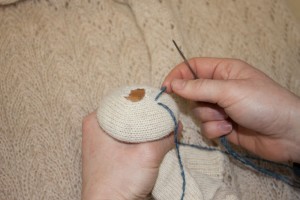
Pull your sock over the darning egg so that the hole is centred on the egg. It is definitely better to darn your socks at the first sign of damage when the hole is small rather than waiting for there to be a huge hole that needs repairing.....huge holes are a bit more challenging to manage.
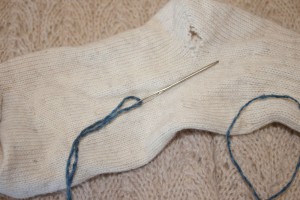
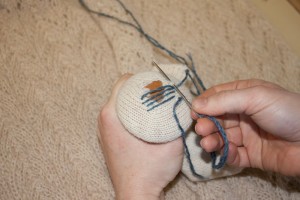
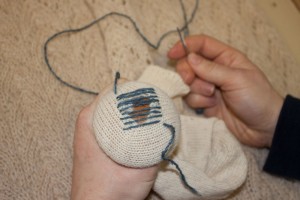
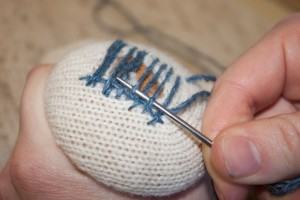
Using your darning needle and yarn, make a stitch near the bottom right hand corner of the hole, leaving a long tail of yarn. Stitch alternating back and forth across the left and right side of the hole (being sure to stitch far enough to the outside of the hole that you a repairing into strong material), creating a horizontal ladder of yarn overtop of the hole.
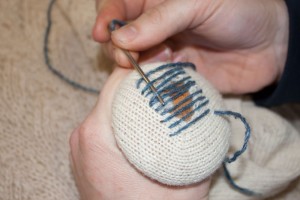
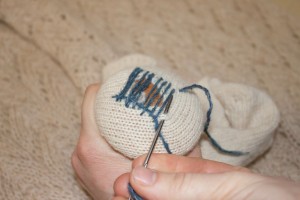
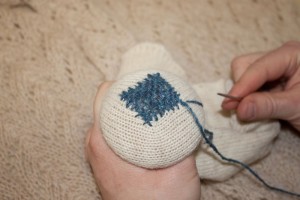
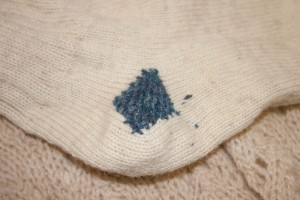
Next, make a stitch near the top left hand corner of your hole and begin to weave your yarn down going over, then under, then over, then under, etc..., the yarn ladder as you make your way to the bottom left hand corner. Make a stitch into good material, then begin to weave your yarn up the yarn ladder going the opposite way - under, then over, then under, then over, ect...,- as you make your way to the top of the hole. Continue this up and down weaving until you have created a grid that completely covers the hole in your sock.
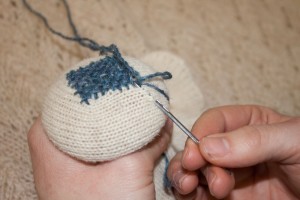
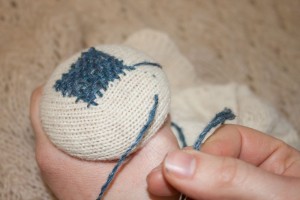
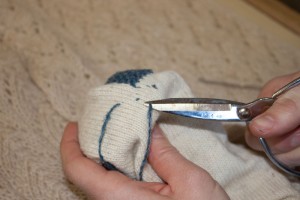
Lastly, secure the ends of your repair yarn by threading the yarn through the inside of several stitches diagonally to the right, then away several stitches diagonally to the left - this locks the yarn in. Cut the end and repeat this with the long tail you had at the beginning. Once both yarn ends are locked in, your darning repair is finished!
Happy darning!


